
Overview
HeadSafe turns a supported wearable headset into a hands-free safety inspection tool. Field workers move through guided, voice-controlled checklists for high-risk tasks, from confined space entry and electrical isolation to excavation and working at height, plus any custom inspection made to your organization's specifications, capturing photos, video, and spoken notes as they go. When something needs a second pair of eyes, a worker can stream their live view to a supervisor and hand over hands-free controls like zoom, flash, and pointer annotation. Everything captured in the field flows into a web console where managers track inspections, incidents, licenses, and devices.
Guided workflows
Step-by-step procedures across confined space, isolation, electrical, and more.
Custom inspections
Site-specific checklists made to your organization's specifications, usable offline.
Voice incident reports
Speak your report; it's transcribed to text automatically.
Live remote support
Stream your view to a supervisor with explicit, on-screen consent.
System requirements
| Requirement | Detail |
|---|---|
| Device | A supported wearable headset (for example RealWear Navigator series) |
| Operating system | Android 8.0 (Oreo) or later, as shipped by the device manufacturer |
| Account | A HeadSafe account and QR/ID badge issued by your organization |
| License | An active device license assigned by your organization |
| Connectivity | Wi-Fi for sign-in, syncing, and live streaming; most inspection steps also work offline |
| Permissions | Camera and microphone access, granted on first use |
First-time setup
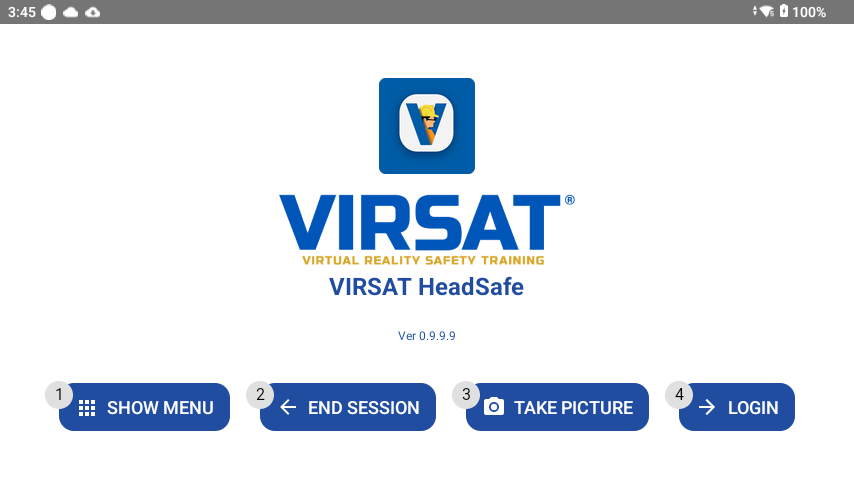
- Put on the headset and wake the display.
HeadSafe opens to the sign-in screen automatically if it's set as your assigned app.
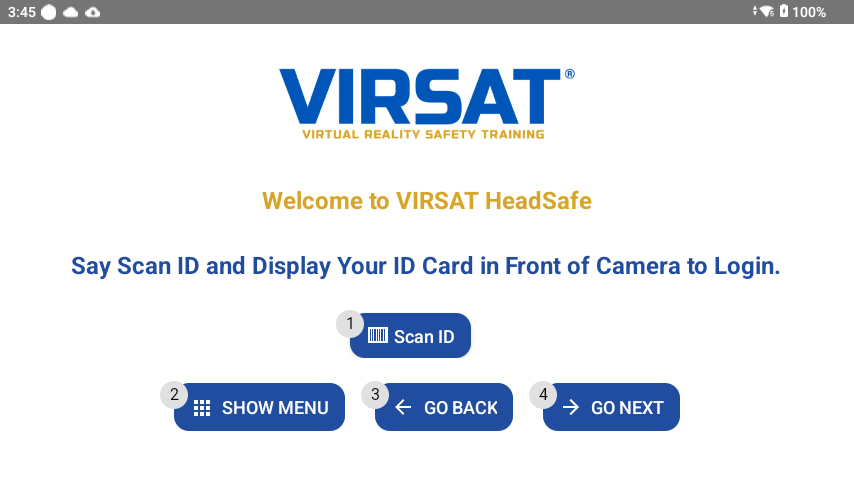
- Present your QR code or ID badge.
Hold it steady in front of the headset camera until it's recognized.
- Grant camera and microphone access.
You'll be prompted the first time a workflow needs them: say "Allow" to continue.
- Confirm your license.
If this is a new device, register it with the license key your organization provided from the account screen.
- You're in.
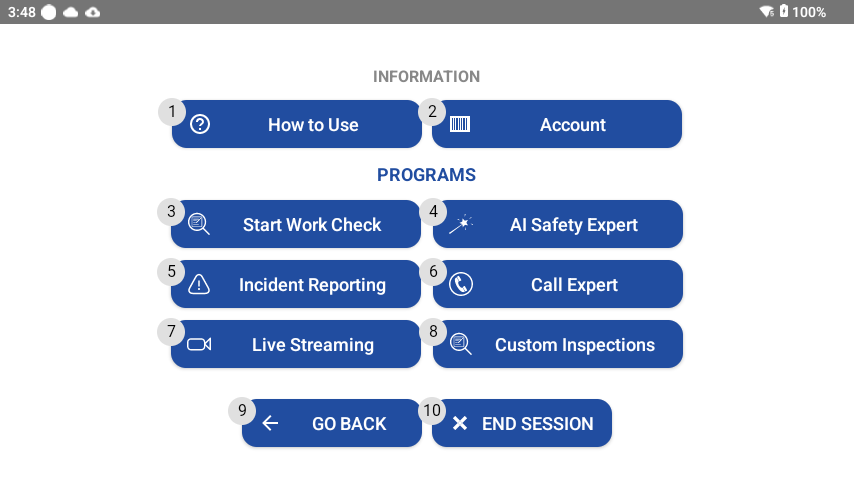
Your dashboard lists the workflows and inspections your organization has assigned to you.
Voice navigation basics
HeadSafe follows the headset's built-in voice interaction model: every on-screen control carries a spoken label, and saying that label activates it (no touch required). The same core commands appear throughout the app:
| Say | Does |
|---|---|
| "Show Menu" | Opens the current screen's menu |
| "Go Back" | Returns to the previous screen |
| "Go Next" | Advances to the next step in a workflow |
| "Select Item" | Chooses a highlighted option |
| "Take Photo" / "Take Video" | Captures evidence for the current step |
| "My Commands" | Lists every phrase available on the current screen |
| "End Session" | Signs out or exits the current workflow |
The headset's touchpad and buttons always work as a fallback, so you're never stuck if a command isn't recognized.
Safety workflows
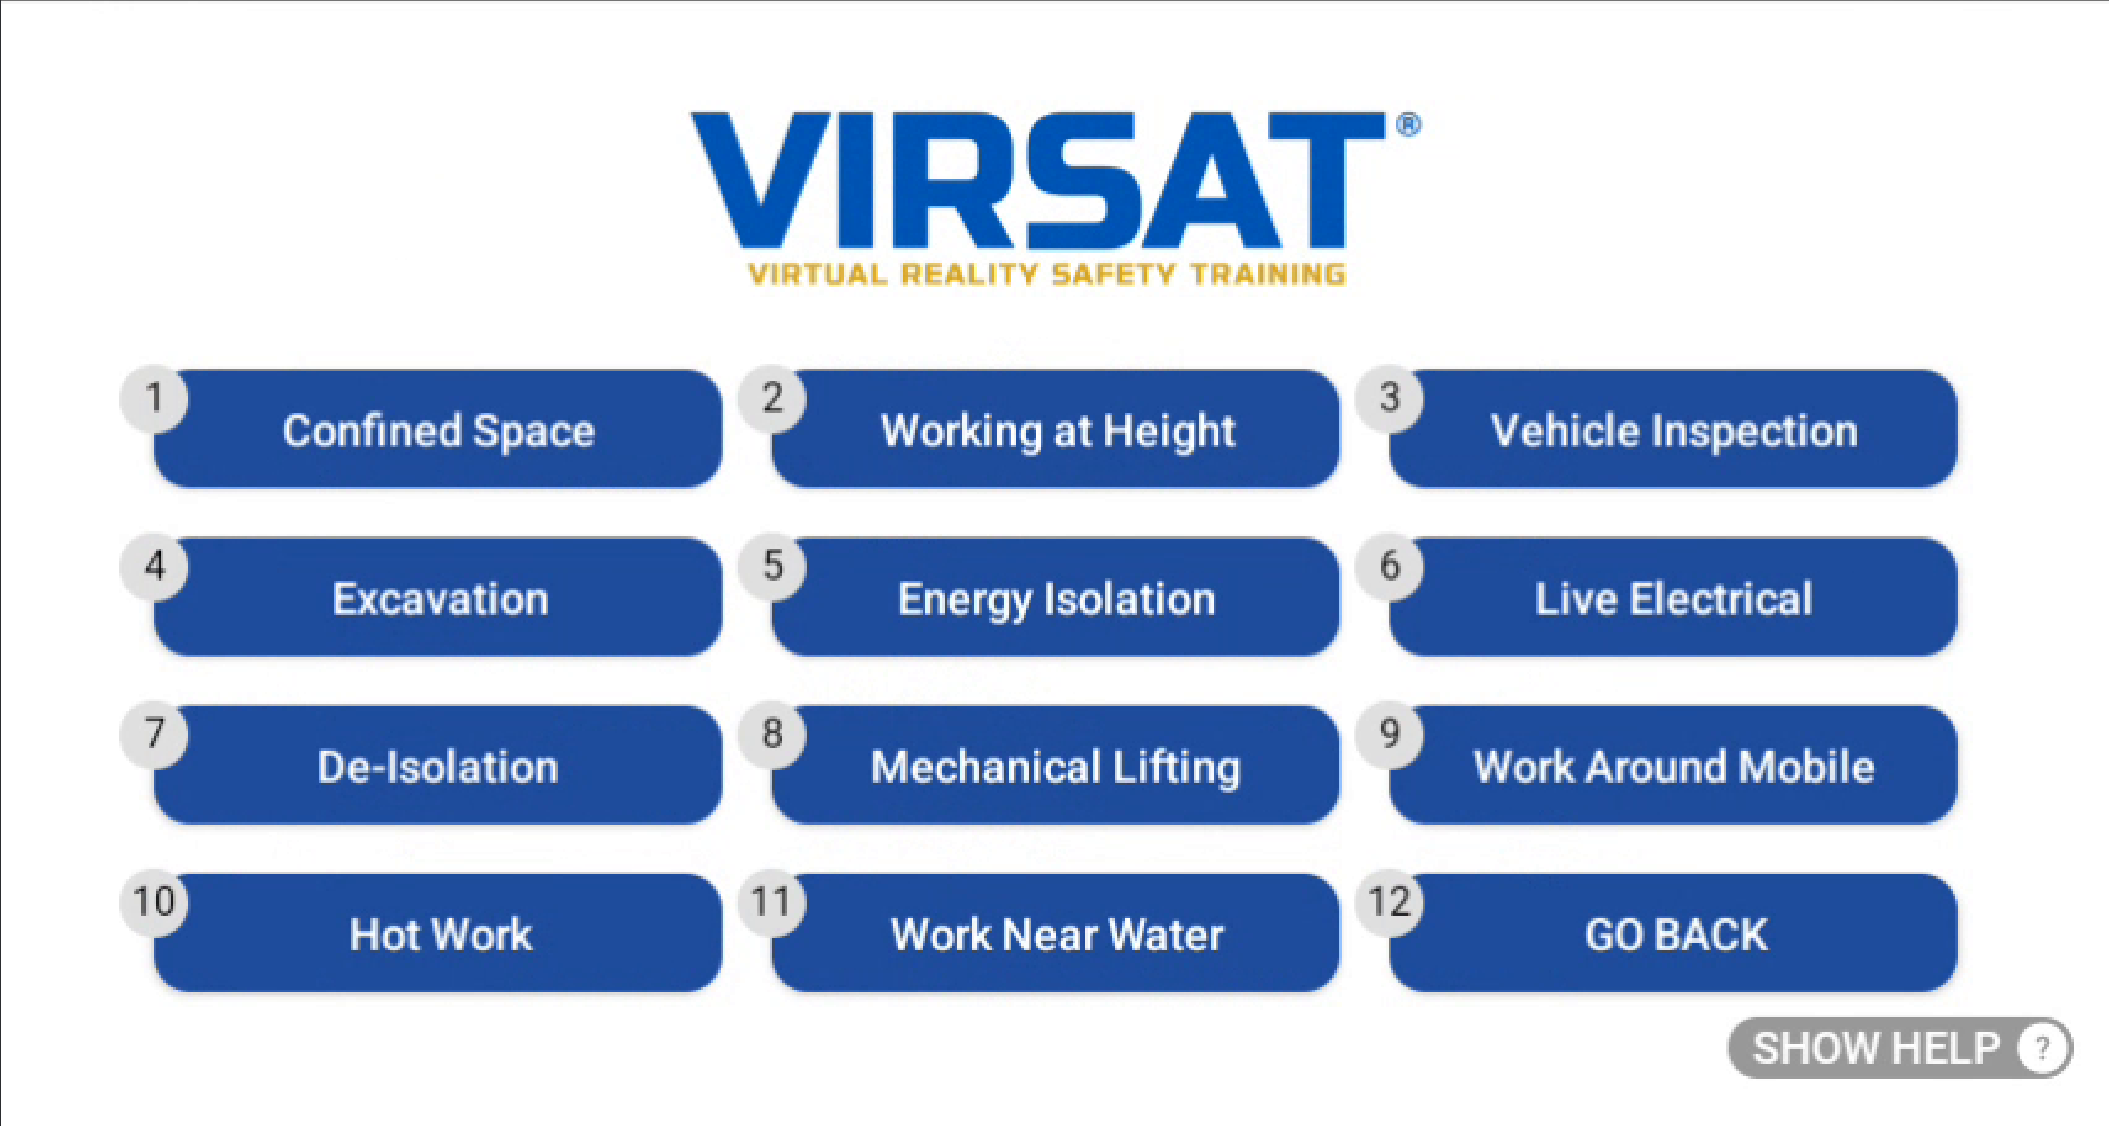
Say "Start Work Check" from the dashboard to see every task type your organization has enabled: Confined Space, Working at Height, Vehicle Inspection, Excavation, Energy Isolation, Live Electrical, De-Isolation, Mechanical Lifting, Work Around Mobile, Hot Work, and Work Near Water among them. Each opens the same guided pattern: a fixed sequence of steps, such as hazard checks, testing, PPE verification, standby and rescue planning, and sign-off, with photo or video evidence captured where a step requires it.
- Open the workflow.
Say its name from the dashboard, then "Start Inspection".
- Work through each step.
Read the on-screen instruction or question, respond, capture evidence if prompted, then say "Go Next".
- Review flagged steps.
Steps that need approval or extra evidence are marked clearly before you can proceed.
- Complete and sign off.
The final step summarizes your responses before submitting the record to your organization.
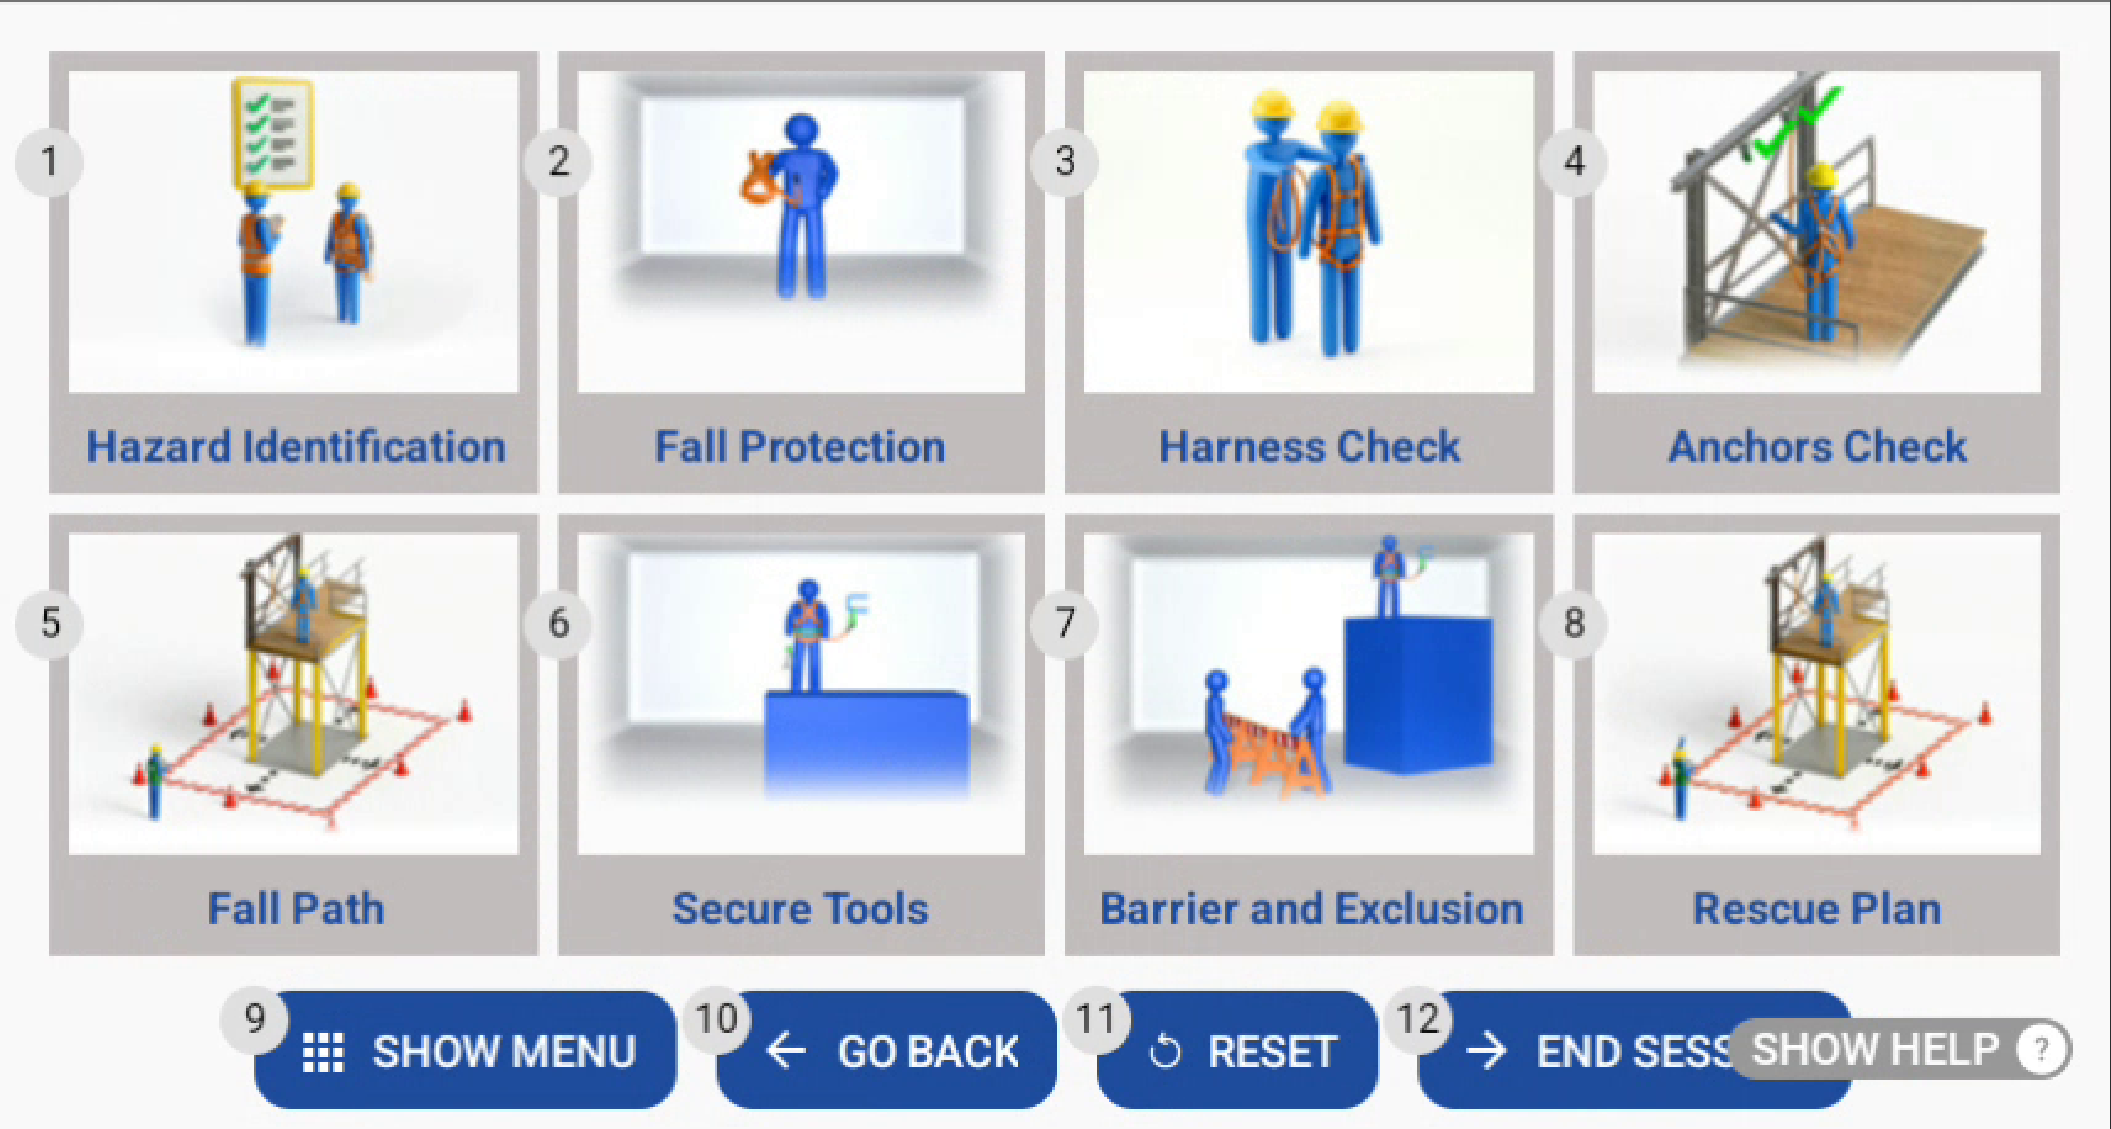
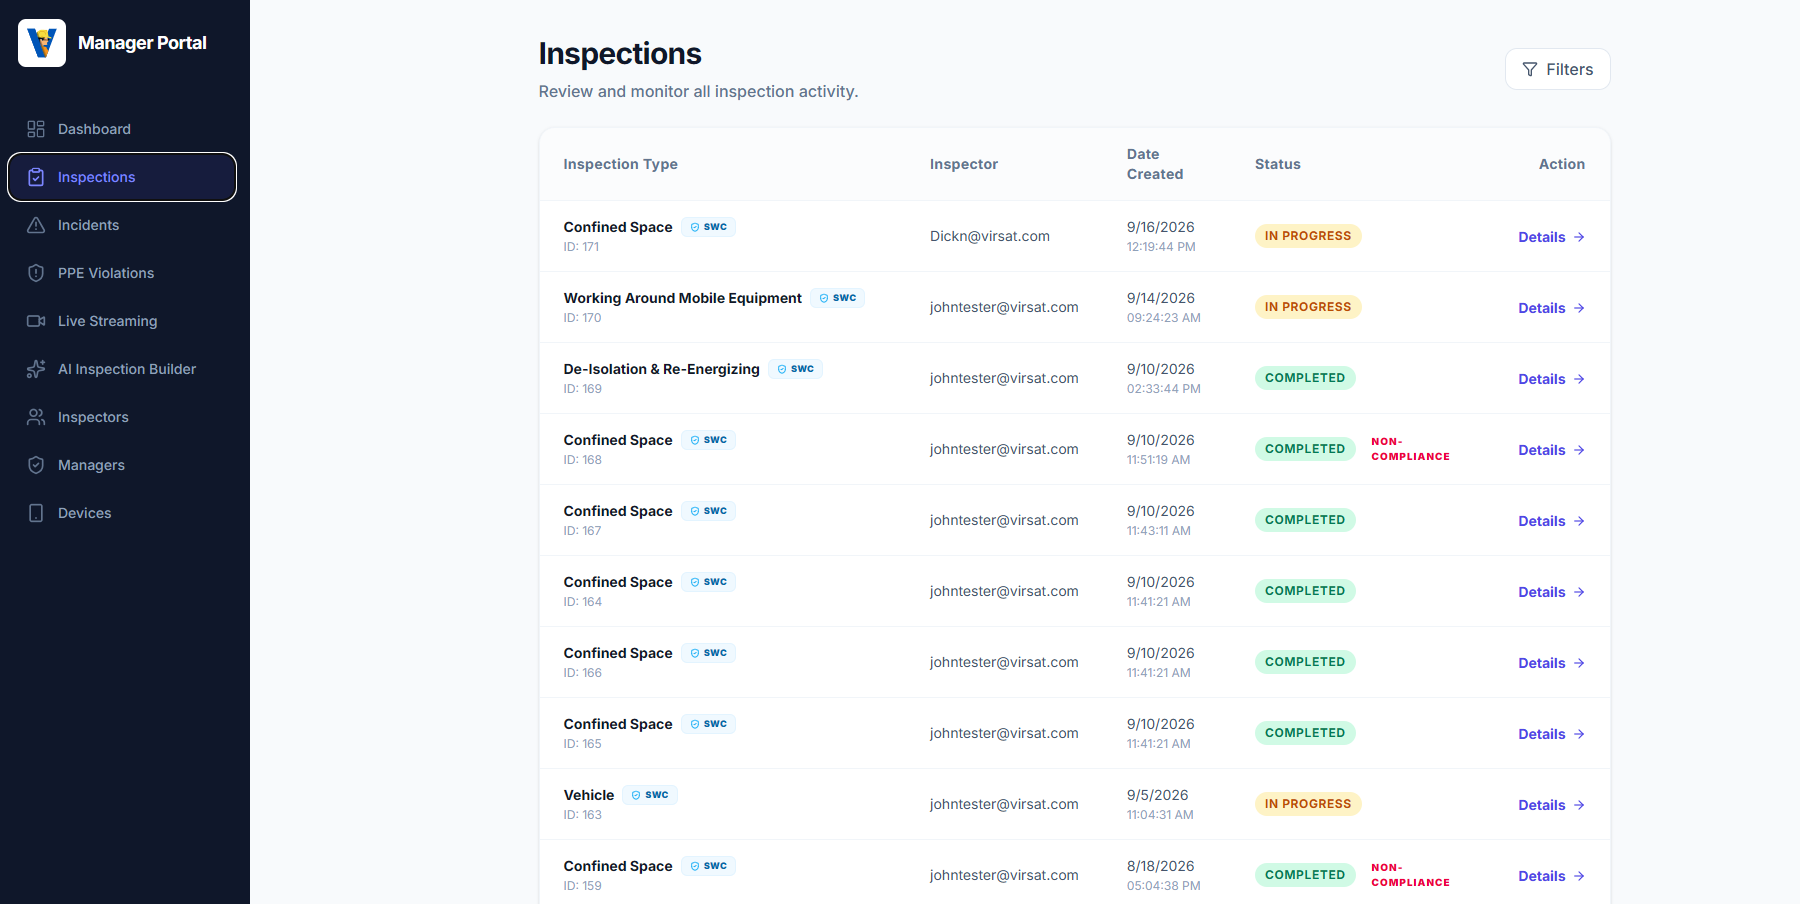
Every completed workflow becomes a record your organization can review:
On the headset
On the web console
These workflows document and guide your process; they do not replace a valid permit-to-work, a competent person's judgment, or your organization's safety procedures. Always follow your site's own rules first.
Custom inspections
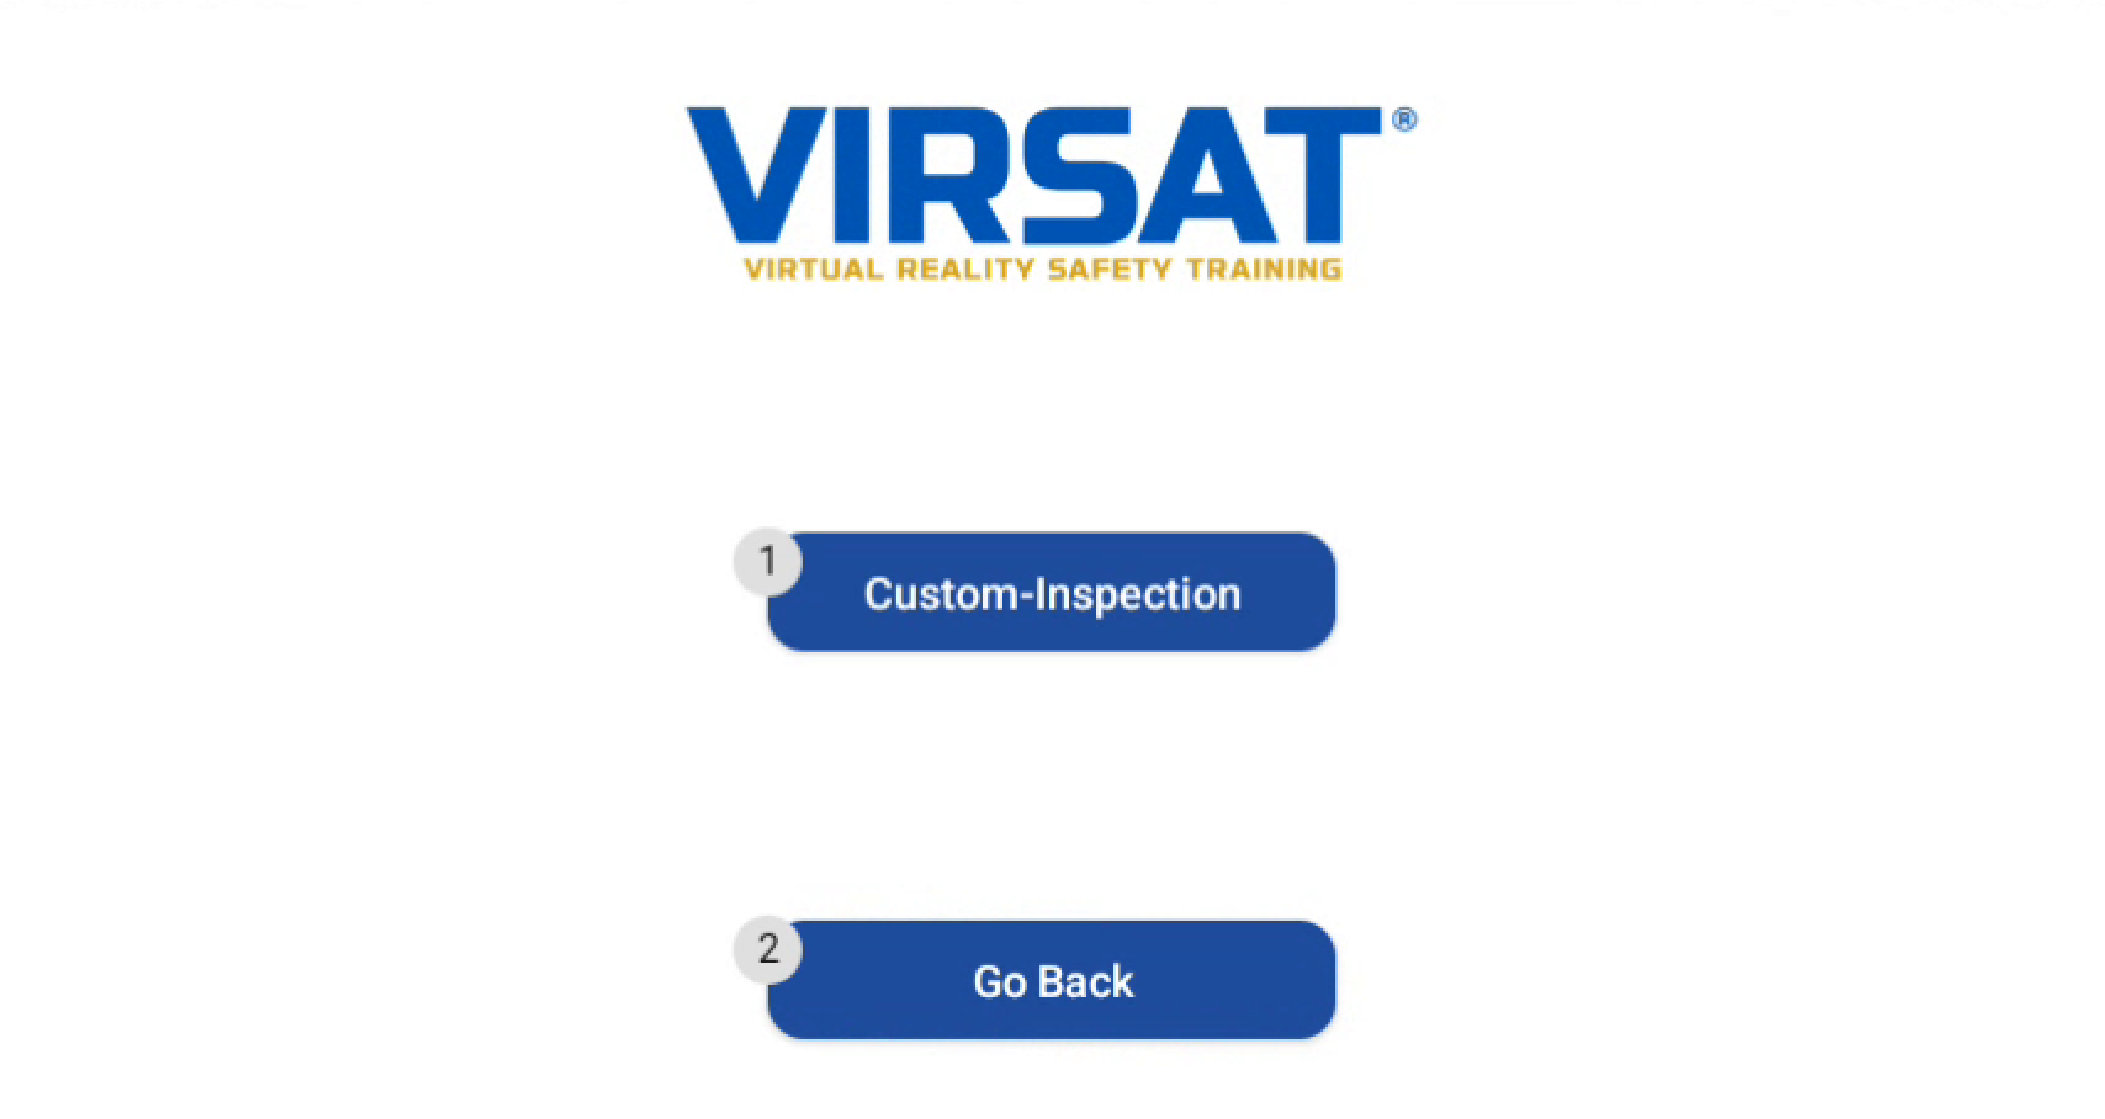
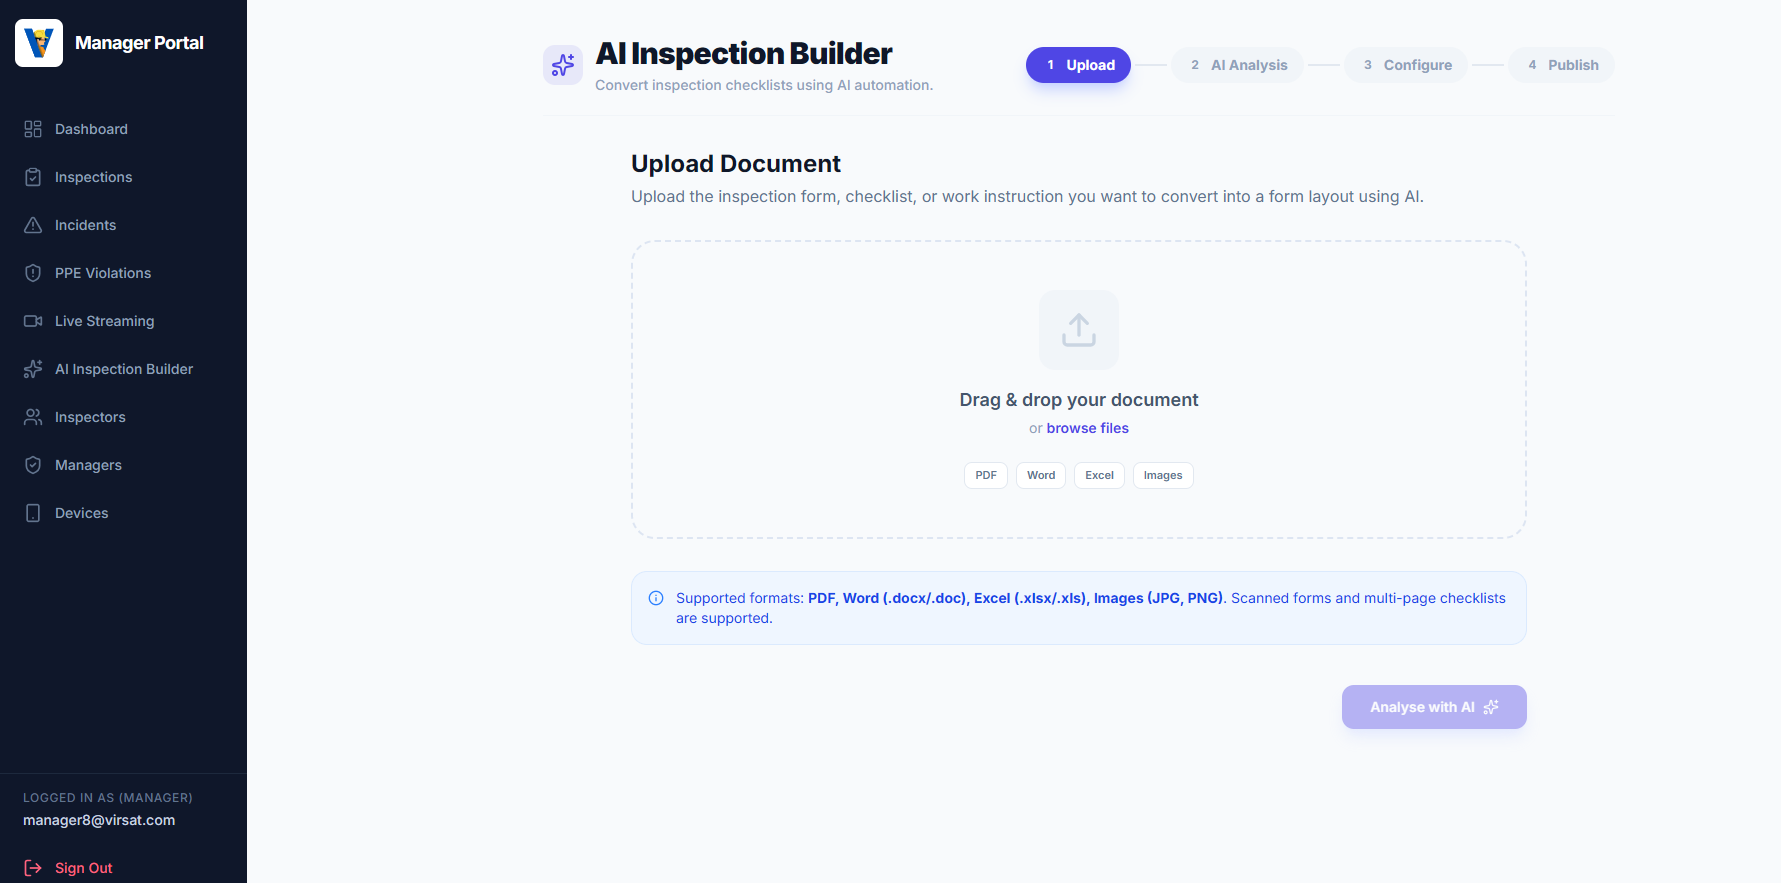
Custom inspections are checklists created to your organization's specifications, either by VIRSAT or by your own team using the web console's AI Inspection Builder, for its own equipment and sites. They appear alongside standard workflows on your dashboard and behave the same way in the field. Once downloaded to your headset, a custom inspection can be completed without a network connection. Your answers and media are stored on-device and sync automatically the next time you're online.
On the headset
On the web console
Incident reporting
- Open Incident Reporting.
Available from your dashboard at any time, not only during a workflow.
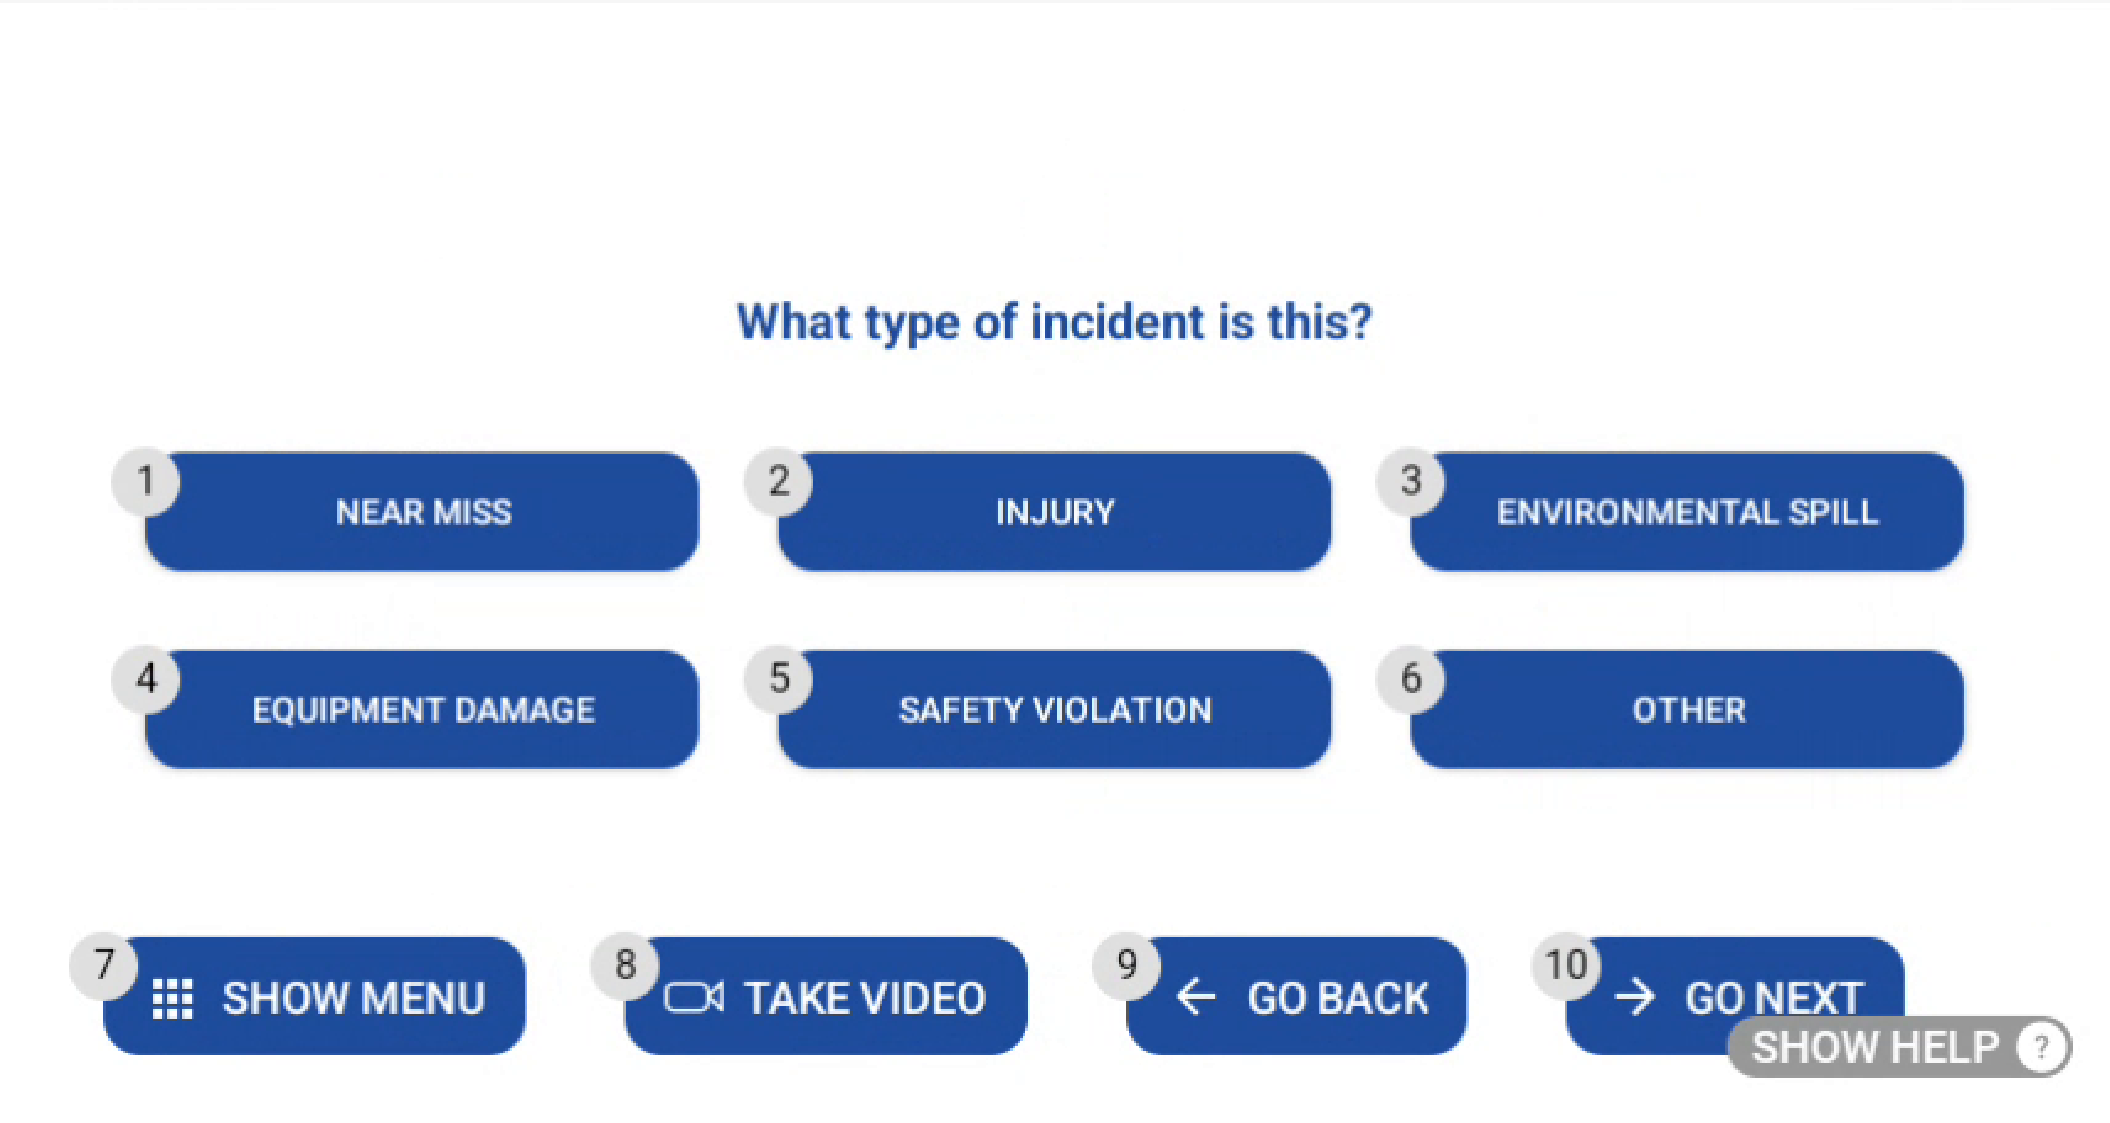
- Choose the incident type.
Say the type that fits, for example "Near Miss", "Injury", "Environmental Spill", "Equipment Damage", "Safety Violation", or "Other".
- Describe what happened, out loud.
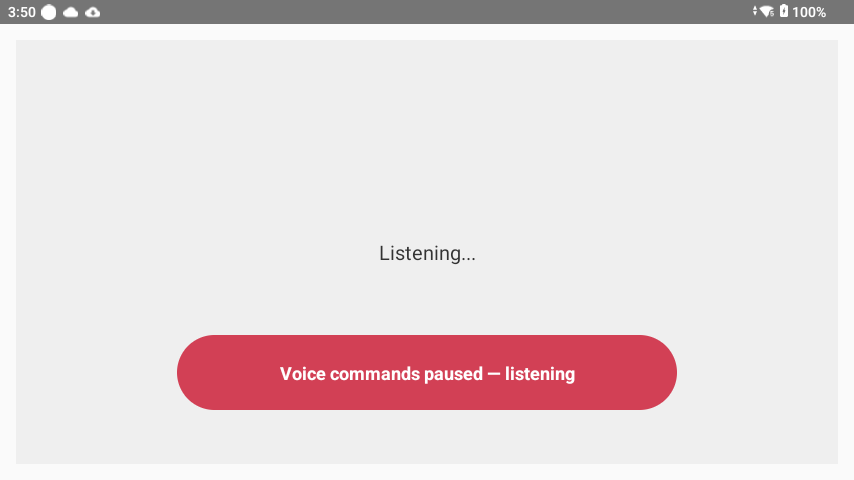
Your speech appears as text on screen as you talk.
- Attach video evidence.
Say "Take Video" if you need to record supporting footage.
- Submit.
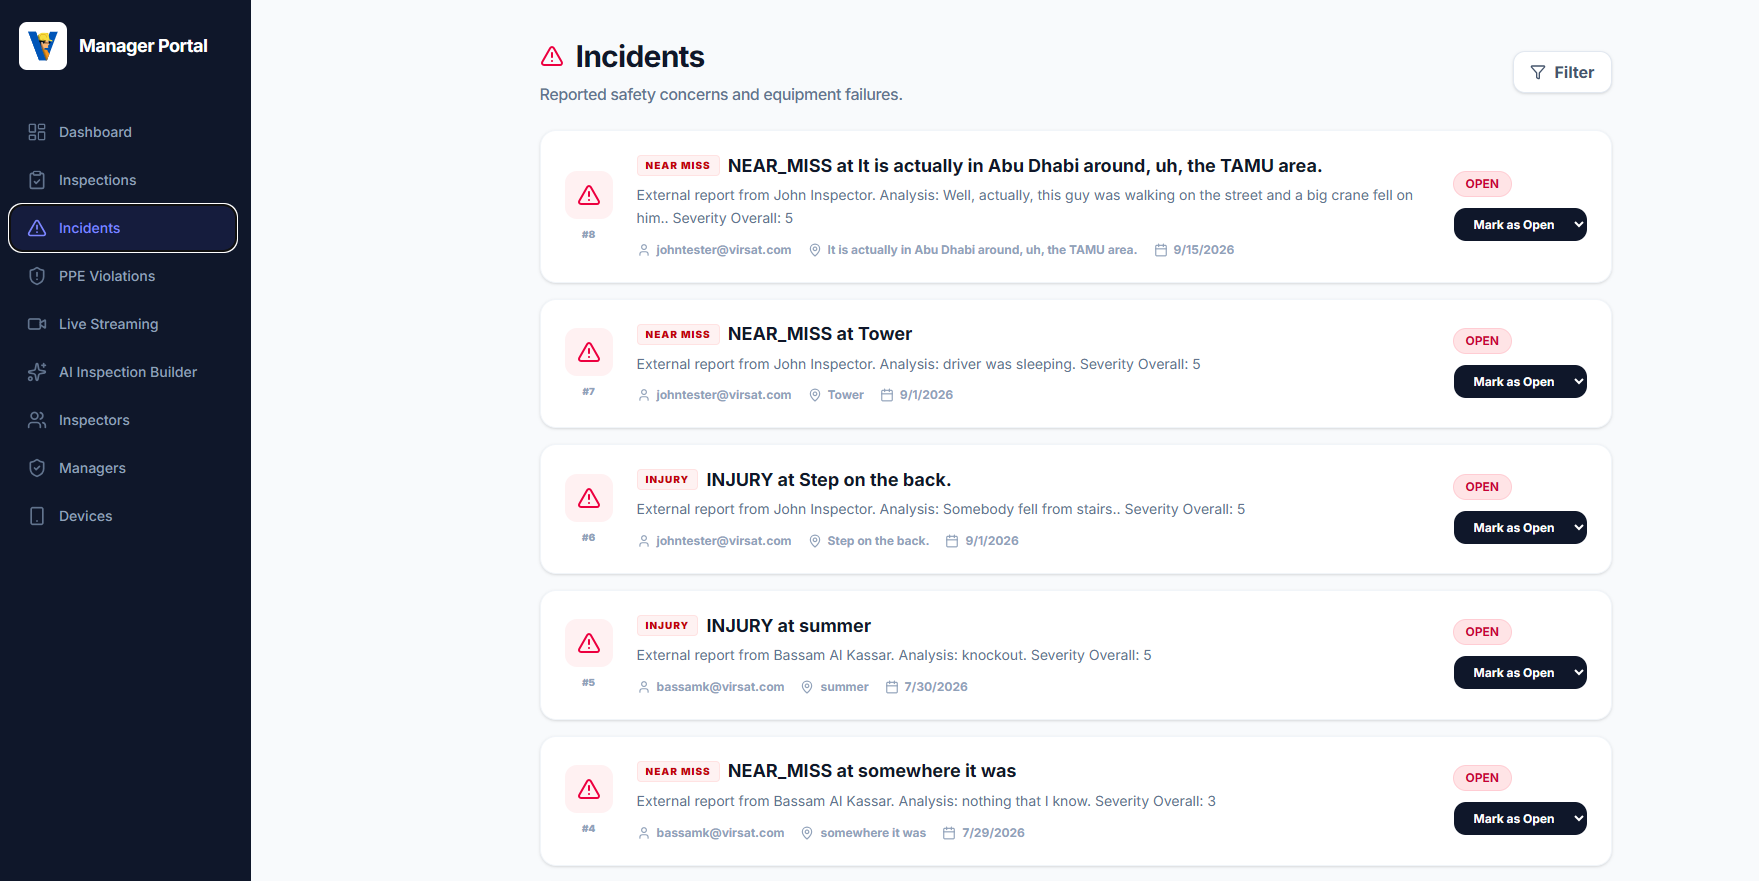
Your report reaches your organization's managers immediately, who can comment and track its status.
Your report reaches the portal the moment you submit it:
On the headset
On the web console
Live streaming & remote support
Live Streaming shares your headset's camera and microphone with a supervisor in real time, so they can help you work through a problem without being on site.
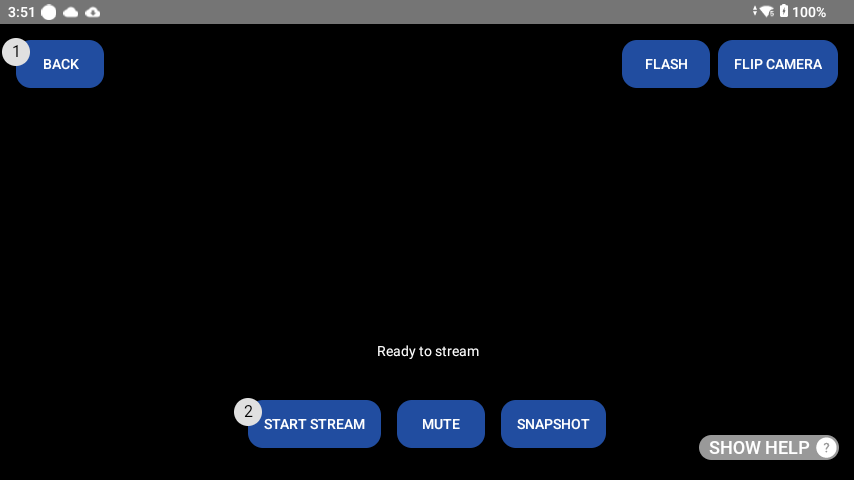
- Say "Start Stream."
A red LIVE badge confirms your camera and microphone are active.
- Approve incoming viewers.
When a supervisor requests to watch, a prompt appears on your display: approve or deny it before they can see anything.
- Work together.
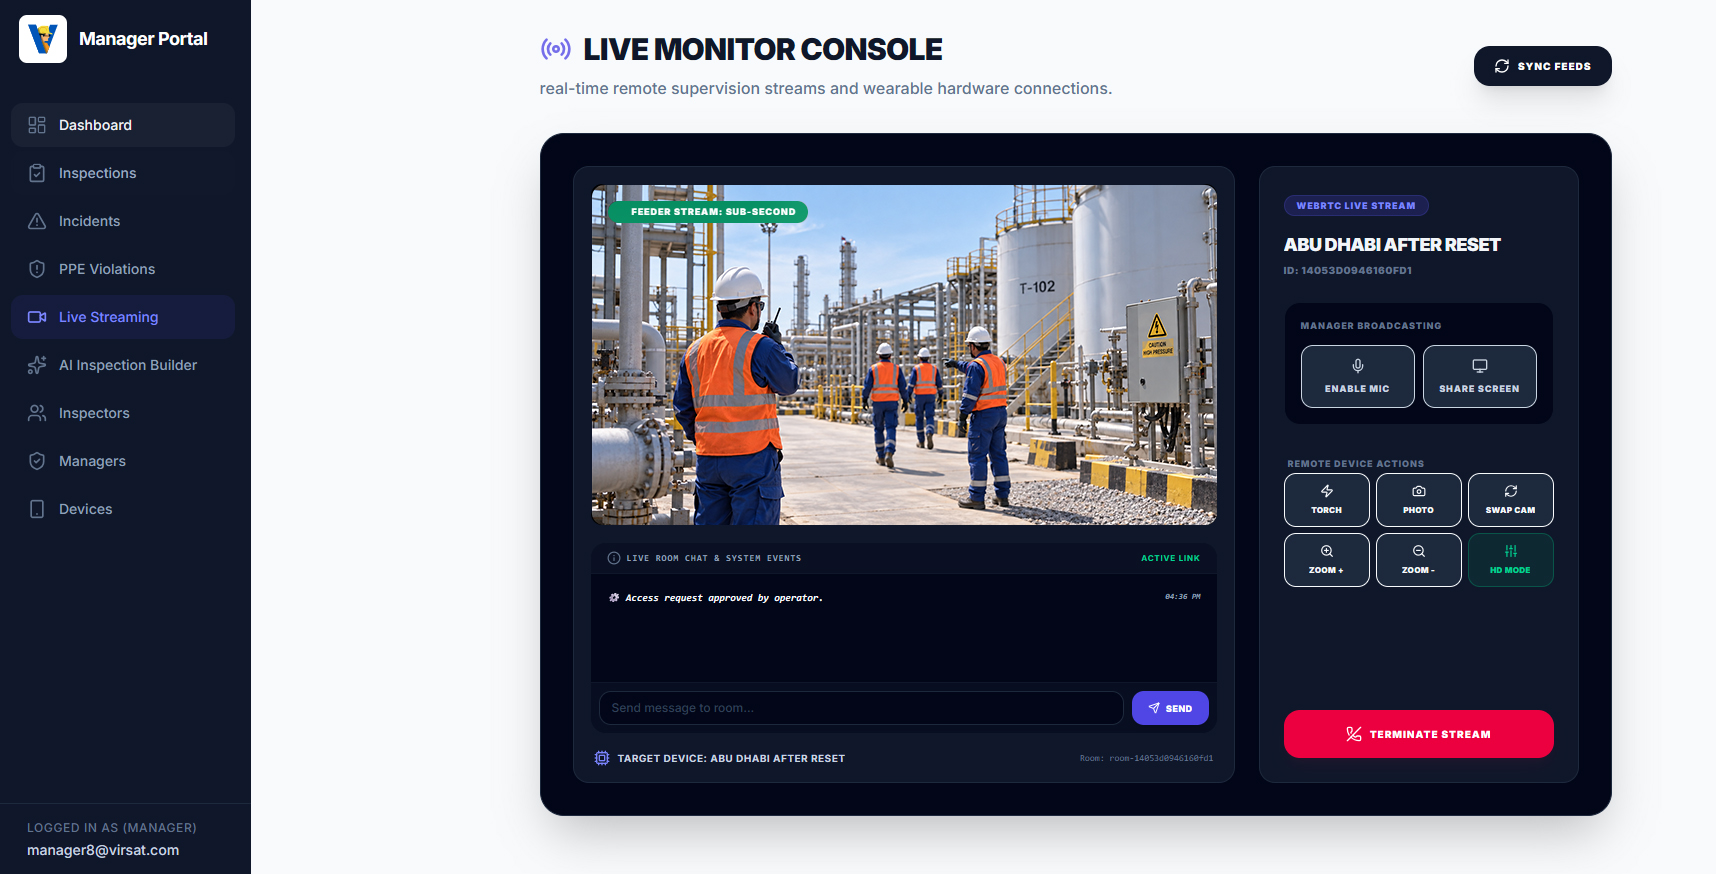
A connected supervisor can ask for zoom, flash, a flipped camera, quality changes, or a snapshot, and can point at or draw on your view to guide you. You can mute at any time with "Mute".
- Say "Stop Stream" to end.
Your camera and microphone stop sending immediately.
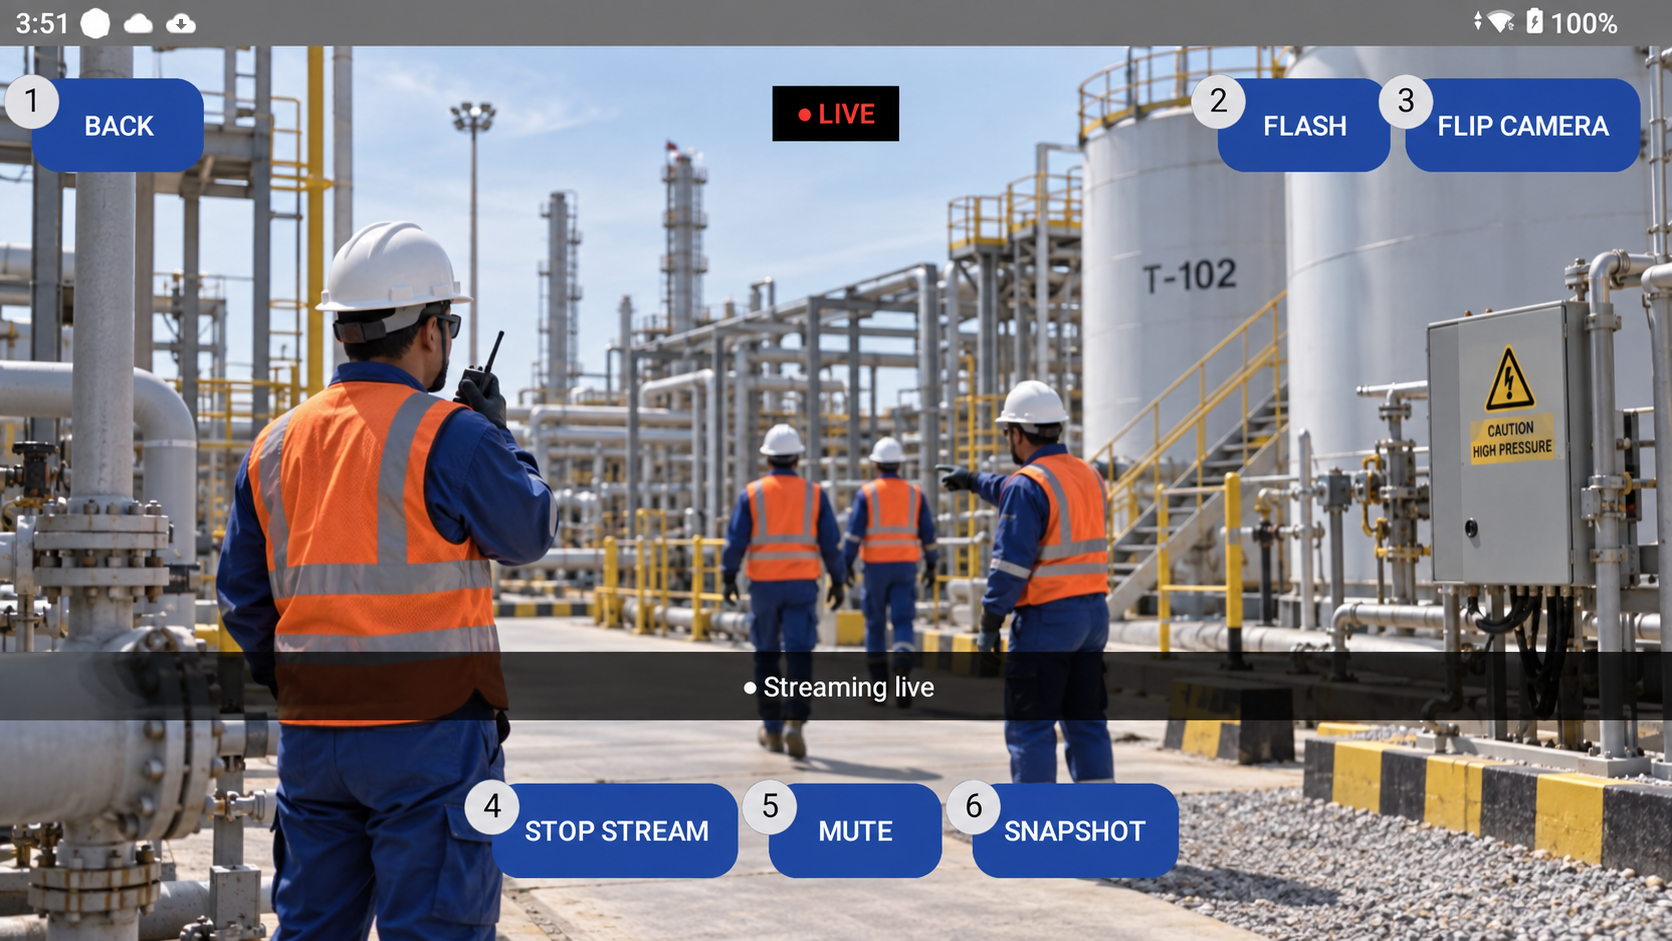
The same session appears on the supervisor's side as a live, controllable feed:
On the headset
On the web console
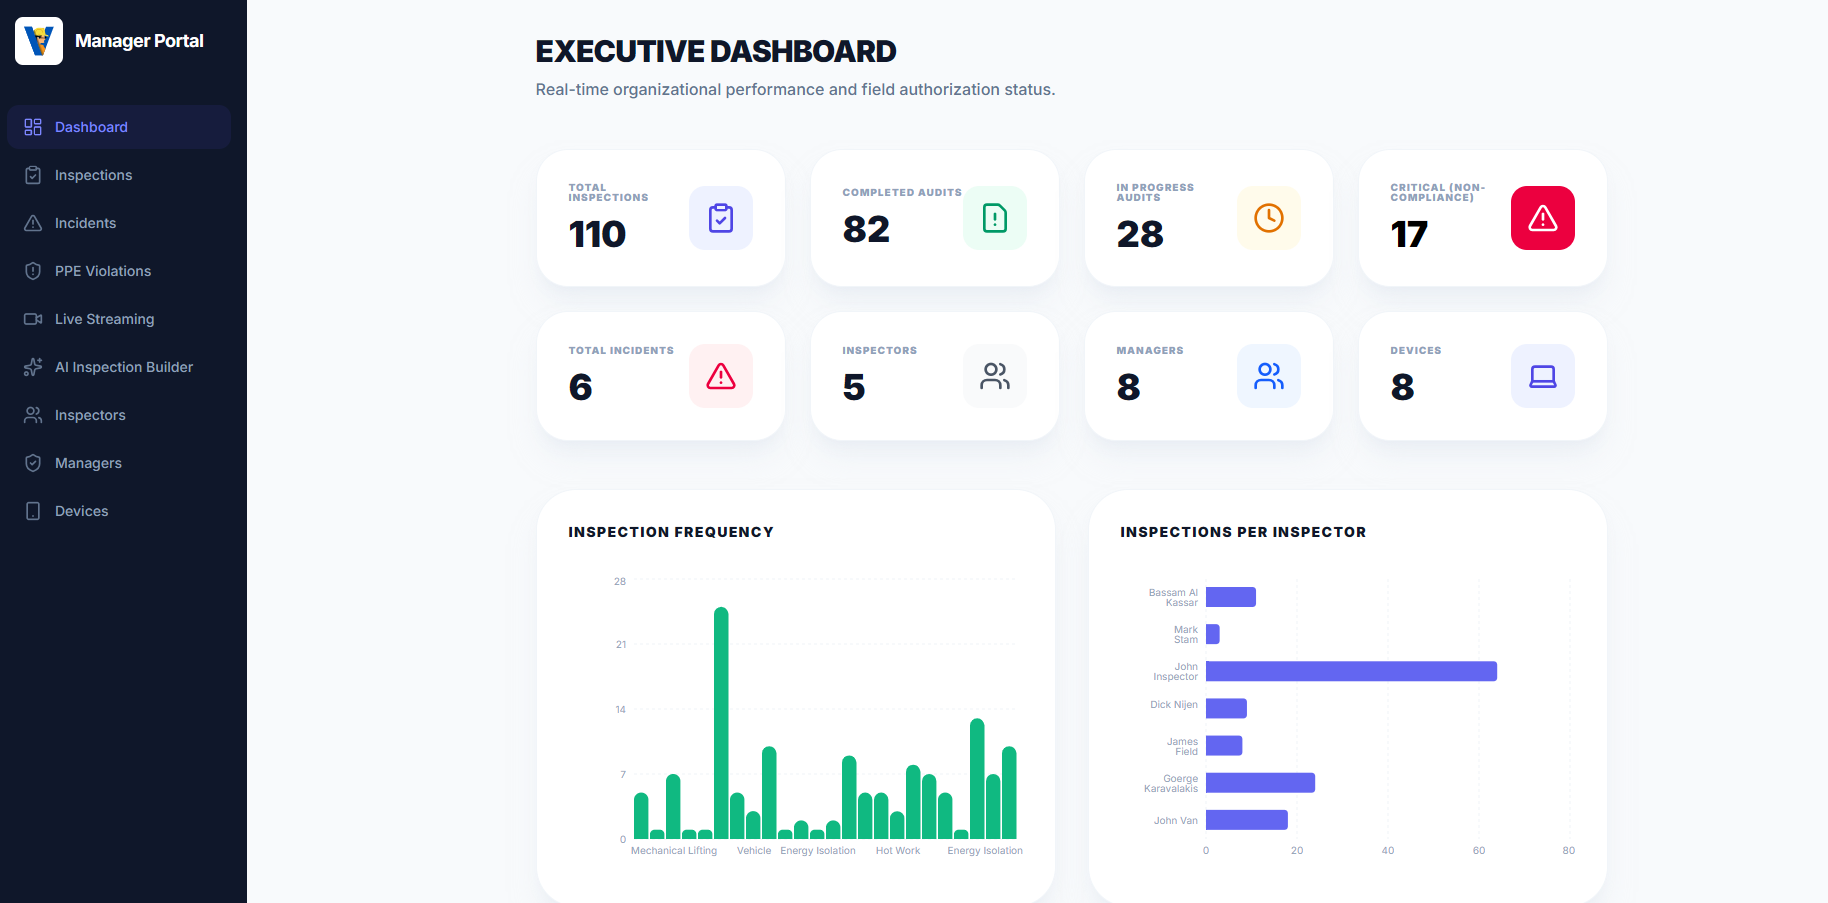
The manager web console
Managers and administrators use a browser-based console to run the parts of HeadSafe that don't happen on the headset. The Executive Dashboard is the starting point: inspection volume, compliance status, and team activity at a glance.
People & devices
Manage inspectors, managers, headset devices, and licenses.
Inspection builder
Design standard and AI-assisted custom inspection workflows, or have VIRSAT build them to your specifications.
Incidents & PPE review
Track incident status and review flagged PPE events.
Live monitoring
See active headset sessions and request to join one.
Data & privacy
Inspection answers, photos, video, incident reports, and live-session records are stored as part of your organization's safety documentation and are visible to your organization's managers. Where data is stored, and for how long, is as agreed between VIRSAT and your organization. Full detail on what's collected and why is available in the HeadSafe Privacy Policy. HeadSafe is developed and operated under VIRSAT's ISO/IEC 27001 certified management system.
Support & feedback
Need help beyond this guide?
Check the Knowledge Base for quick answers, or write to us directly.